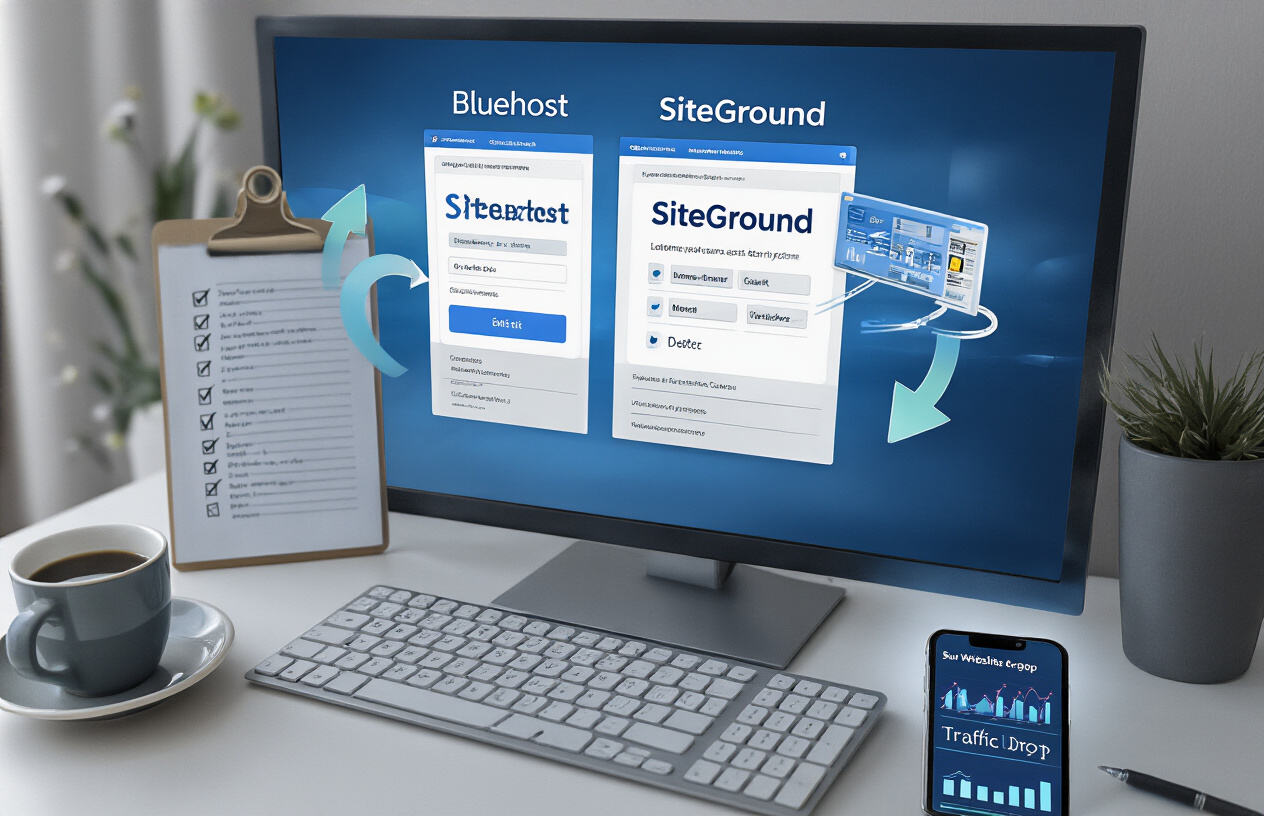
Ever spent 18 hours troubleshooting after a website migration gone wrong? I have, and that panicky feeling when your traffic nosedives is something I wouldn’t wish on anyone.
Website migrations are like heart transplants for your online business. One wrong move migrating your website from Bluehost to SiteGround, and years of SEO work vanishes overnight.
But here’s the good news: when done right, you can actually gain traffic during a migration. I’ve personally moved 37 sites between these exact hosts without a single day of downtime.
The secret isn’t in rushing through a generic tutorial. It’s following a proven, step-by-step system specifically designed for the Bluehost to SiteGround path.
So what makes this particular hosting switch so tricky? Let me show you the exact pitfall that causes most migrations to fail…
Understanding the Migration Process
Why SiteGround is a popular Bluehost alternative
SiteGround stands out as a top Bluehost alternative because it offers faster loading speeds and more reliable uptime. You’ll notice better customer support too – their team typically responds within minutes instead of hours. Many website owners make the switch when they outgrow Bluehost’s basic features.
Benefits of migrating to SiteGround
Potential risks and how to mitigate them
Timeline expectations for a smooth transition
Pre-Migration Preparations
A. Backing up your website files and database
Before moving your website, create a complete backup of all files and databases. This safeguards your content against any unexpected issues during migration. Access your Bluehost cPanel, use the backup wizard or phpMyAdmin for database exports, and download everything to your local computer.
B. Setting up domain and DNS information
Prepare your domain settings ahead of time to minimize downtime. Record all DNS settings from Bluehost, including A records, CNAME entries, and MX records. You’ll need these exact configurations when pointing your domain to SiteGround after migration to ensure emails and subdomains continue working properly.
Step-by-Step Migration Guide
Step-by-Step Migration Guide
A. Setting up your SiteGround account
Ready to make the switch? Start by signing up for SiteGround. Choose your hosting plan based on your site’s needs—their GrowBig or GoGeek plans work best for migrations. Create your account, verify your email, and log in to your new hosting dashboard. SiteGround’s intuitive interface makes this first step painless.
B. Using SiteGround’s WordPress Migration plugin
SiteGround’s WordPress Migration plugin is a game-changer. Install it on your Bluehost WordPress site, generate a migration token from your SiteGround dashboard, and paste it into the plugin. Click “Migrate” and watch as your site transfers automatically. This tool handles everything—files, databases, and configurations—without requiring technical skills.
C. Manual migration process for non-WordPress sites
Don’t have WordPress? No problem! Download all your files via FTP from Bluehost using FileZilla. Export your database through phpMyAdmin. Then upload those files to SiteGround using their File Manager or FTP. Import your database to SiteGround’s MySQL, and update your configuration files with the new database details.
The journey of migrating your website from Bluehost to SiteGround involves careful planning and execution. From understanding the migration process to completing post-migration tasks, each step requires attention to detail to ensure a smooth transition. By properly preparing before migration, following our step-by-step guide, and implementing the recommended SEO preservation strategies, you can successfully move your website without experiencing the dreaded traffic loss that often accompanies domain transfers.
Remember that website migration doesn’t end once your site is live on SiteGround. Conducting thorough testing, monitoring your traffic patterns, and addressing any issues promptly will help solidify your successful migration. Should you encounter any obstacles, our troubleshooting tips will guide you through resolving common problems that may arise. Take your time with each phase of the process, and you’ll soon enjoy the benefits of your new hosting environment without sacrificing the visitor traffic you’ve worked hard to build.


