
Remember the frustration of trying to build your first website? The endless tutorials, confusing interfaces, and that sinking feeling when nothing works as it should?
I’ve been there. And that’s why I’m breaking down the entire process of website setup on Hostinger into absurdly simple steps anyone can follow – even if technology makes you break out in hives.
Getting your website hosting right the first time isn’t just about saving money. It’s about launching your online presence without the technical headaches that make most beginners quit.
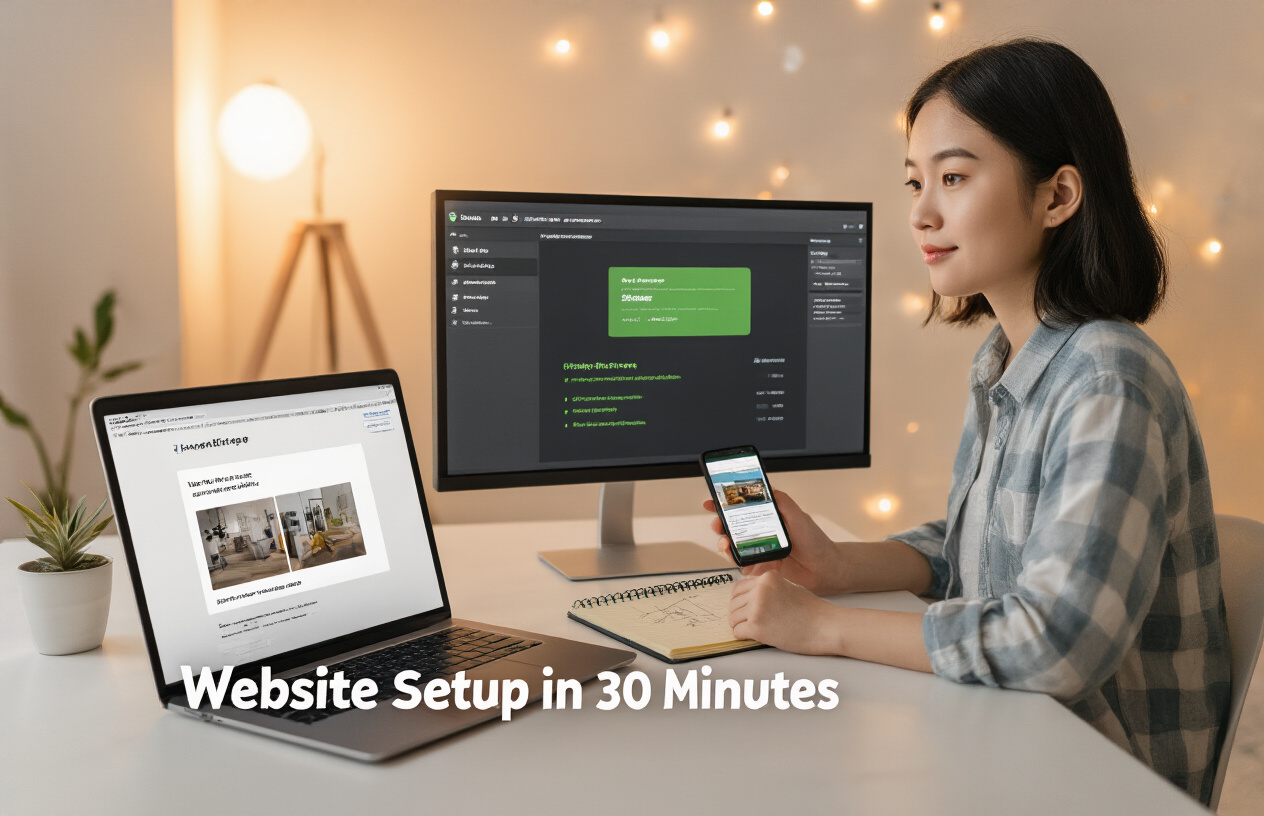
By the end of this guide, you’ll have your site up and running in under 30 minutes (yes, really). But first, let me show you the one setup mistake that costs new website owners hundreds of dollars every year…
Preparing for Your Website Setup
A. Choosing the right domain name
Pick a domain name that’s catchy, relevant to your business, and easy to remember. Avoid hyphens and numbers that complicate spelling. Keep it short—ideally under 15 characters—and make sure it’s available across social media platforms for consistent branding.
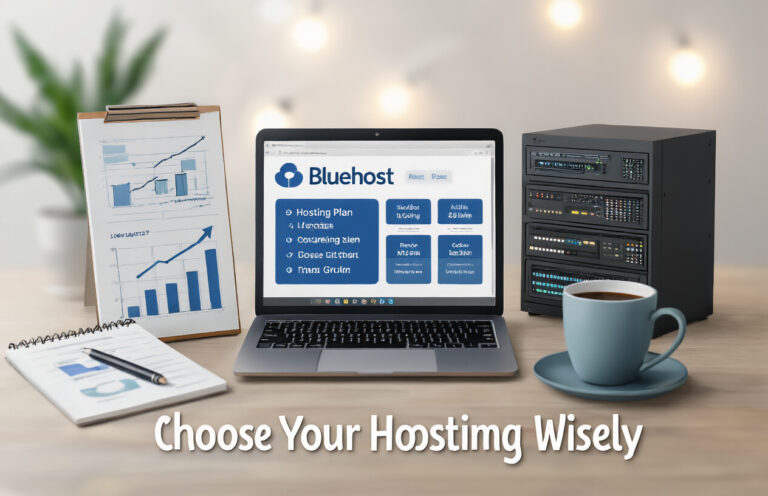
B. Selecting the appropriate hosting plan
Hostinger offers several plans tailored to different needs. If you’re just starting out, their Single Web Hosting plan works perfectly. For growing websites expecting more traffic, consider Premium or Business plans with increased resources, free domain registration, and enhanced performance capabilities.
C. First-time login guide
After purchasing your Hostinger plan, check your email for login credentials. Navigate to hpanel.hostinger.com, enter your details, and you’ll access your dashboard. Don’t worry about feeling overwhelmed—the clean interface makes navigation intuitive even if you’re completely new to website management.
D. Essential settings to configure immediately
Right after logging in, configure your PHP version (latest recommended), set up automatic backups, and verify your email settings. These foundational configurations prevent future technical issues and ensure smooth operation as you build your site from the ground up.
E. Security features to enable
Immediately activate Hostinger’s Security Center from your hPanel. Enable two-factor authentication, SSL certificates, and automated malware scanning. These simple steps create a security fortress around your new website, protecting both your content and your visitors’ data.
Installing WordPress on Hostinger
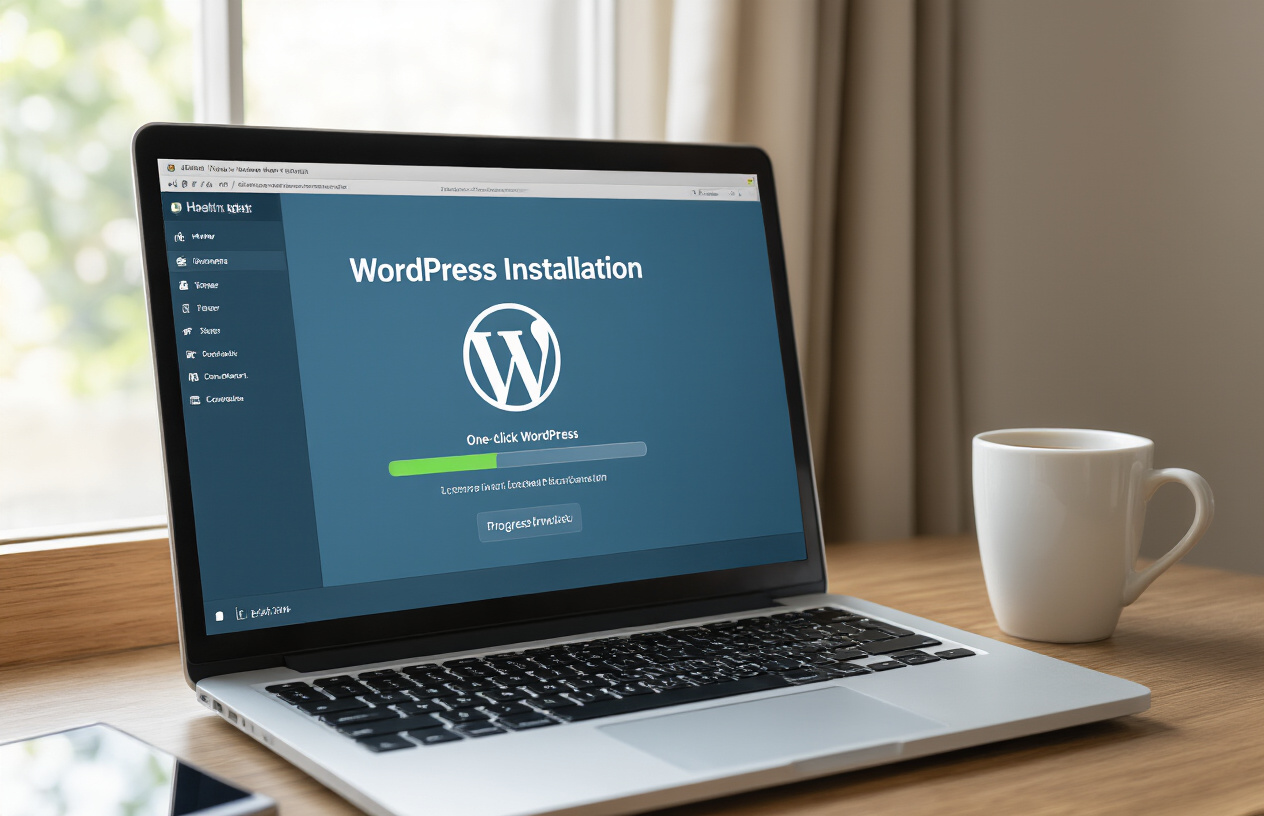
A. Using the auto-installer tool
Installing WordPress on Hostinger couldn’t be simpler. Just log into your Hostinger account, go to the control panel, and find the WordPress auto-installer. Click “Install Now,” enter your site name, username, and password. Within minutes, your WordPress site will be ready to customize and build out.
B. Configuring basic WordPress settings
Once WordPress is installed, you’ll need to configure some basics. Head to Settings in your dashboard to set your site title, tagline, and timezone. Don’t forget to choose a permalink structure that’s SEO-friendly. These quick tweaks will get your site functioning exactly how you want it.
C. Understanding the WordPress dashboard
Your WordPress dashboard is command central for your website. The left sidebar contains everything you need – Posts for content, Pages for static information, Appearance for design, and Plugins for added functionality. Take a few minutes to click around and familiarize yourself with each section.
Launching Your Website

A. Selecting and installing a theme
Ultimate WordPress Toolkit 2025: Themes, Plugins, and PHP Scripts You Must Have
💡 If you’re building for business, use
🧠Pro Tip
Installing a theme
With Hostinger, simply go to Appearance > Themes > Add New. Browse through options, preview a few, then click “Install” and “Activate” on your favorite. Don’t worry—you can always change it later.
B. Final pre-launch checklist
Before going live, check these essentials: all pages display correctly, contact forms work, links aren’t broken, and your site loads quickly. Remove any placeholder content and ensure your most important information is easy to find. Double-check your site title and tagline.
C. Testing across different devices
Your website needs to look great everywhere. Open it on your phone, tablet, and desktop to ensure everything’s readable and clickable. Pay special attention to images, menus, and forms. If something looks off on mobile, adjust your theme settings or widgets accordingly.
D. Publishing your website
Ready to go live? In Hostinger, navigate to Settings > Reading. Select “Your homepage displays” and choose either latest posts or a static page. Hit “Save Changes” and your site is officially live! Share it with friends, family, and on social media to start building traffic.

Building your own website with Hostinger doesn’t have to be complicated or time-consuming. By following the steps outlined in this guide, you’ve learned how to select a hosting plan, navigate the control panel, install WordPress, customize your design, and create essential pages—all within 30 minutes. Each step is designed to help beginners get online quickly without technical overwhelm.
Now that your website is live, continue exploring Hostinger’s features to enhance your site’s performance and functionality. Whether you’re creating a personal blog, portfolio, or business website, you have all the tools needed to grow your online presence. Don’t wait to share your new website with the world—your digital journey has just begun!